Replacing the Pull Cord on a Husqvarna Chainsaw and Blower
The pull cord is one of the most utilized components of both chainsaws and blowers. It can wear or break eventually, but don't worry, it's simple to replace it yourself with basic tools. In this guide, we will teach you how to replace a Husqvarna chainsaw pull cord and a Husqvarna blower pull cord step by step.
Tools & Materials Needed
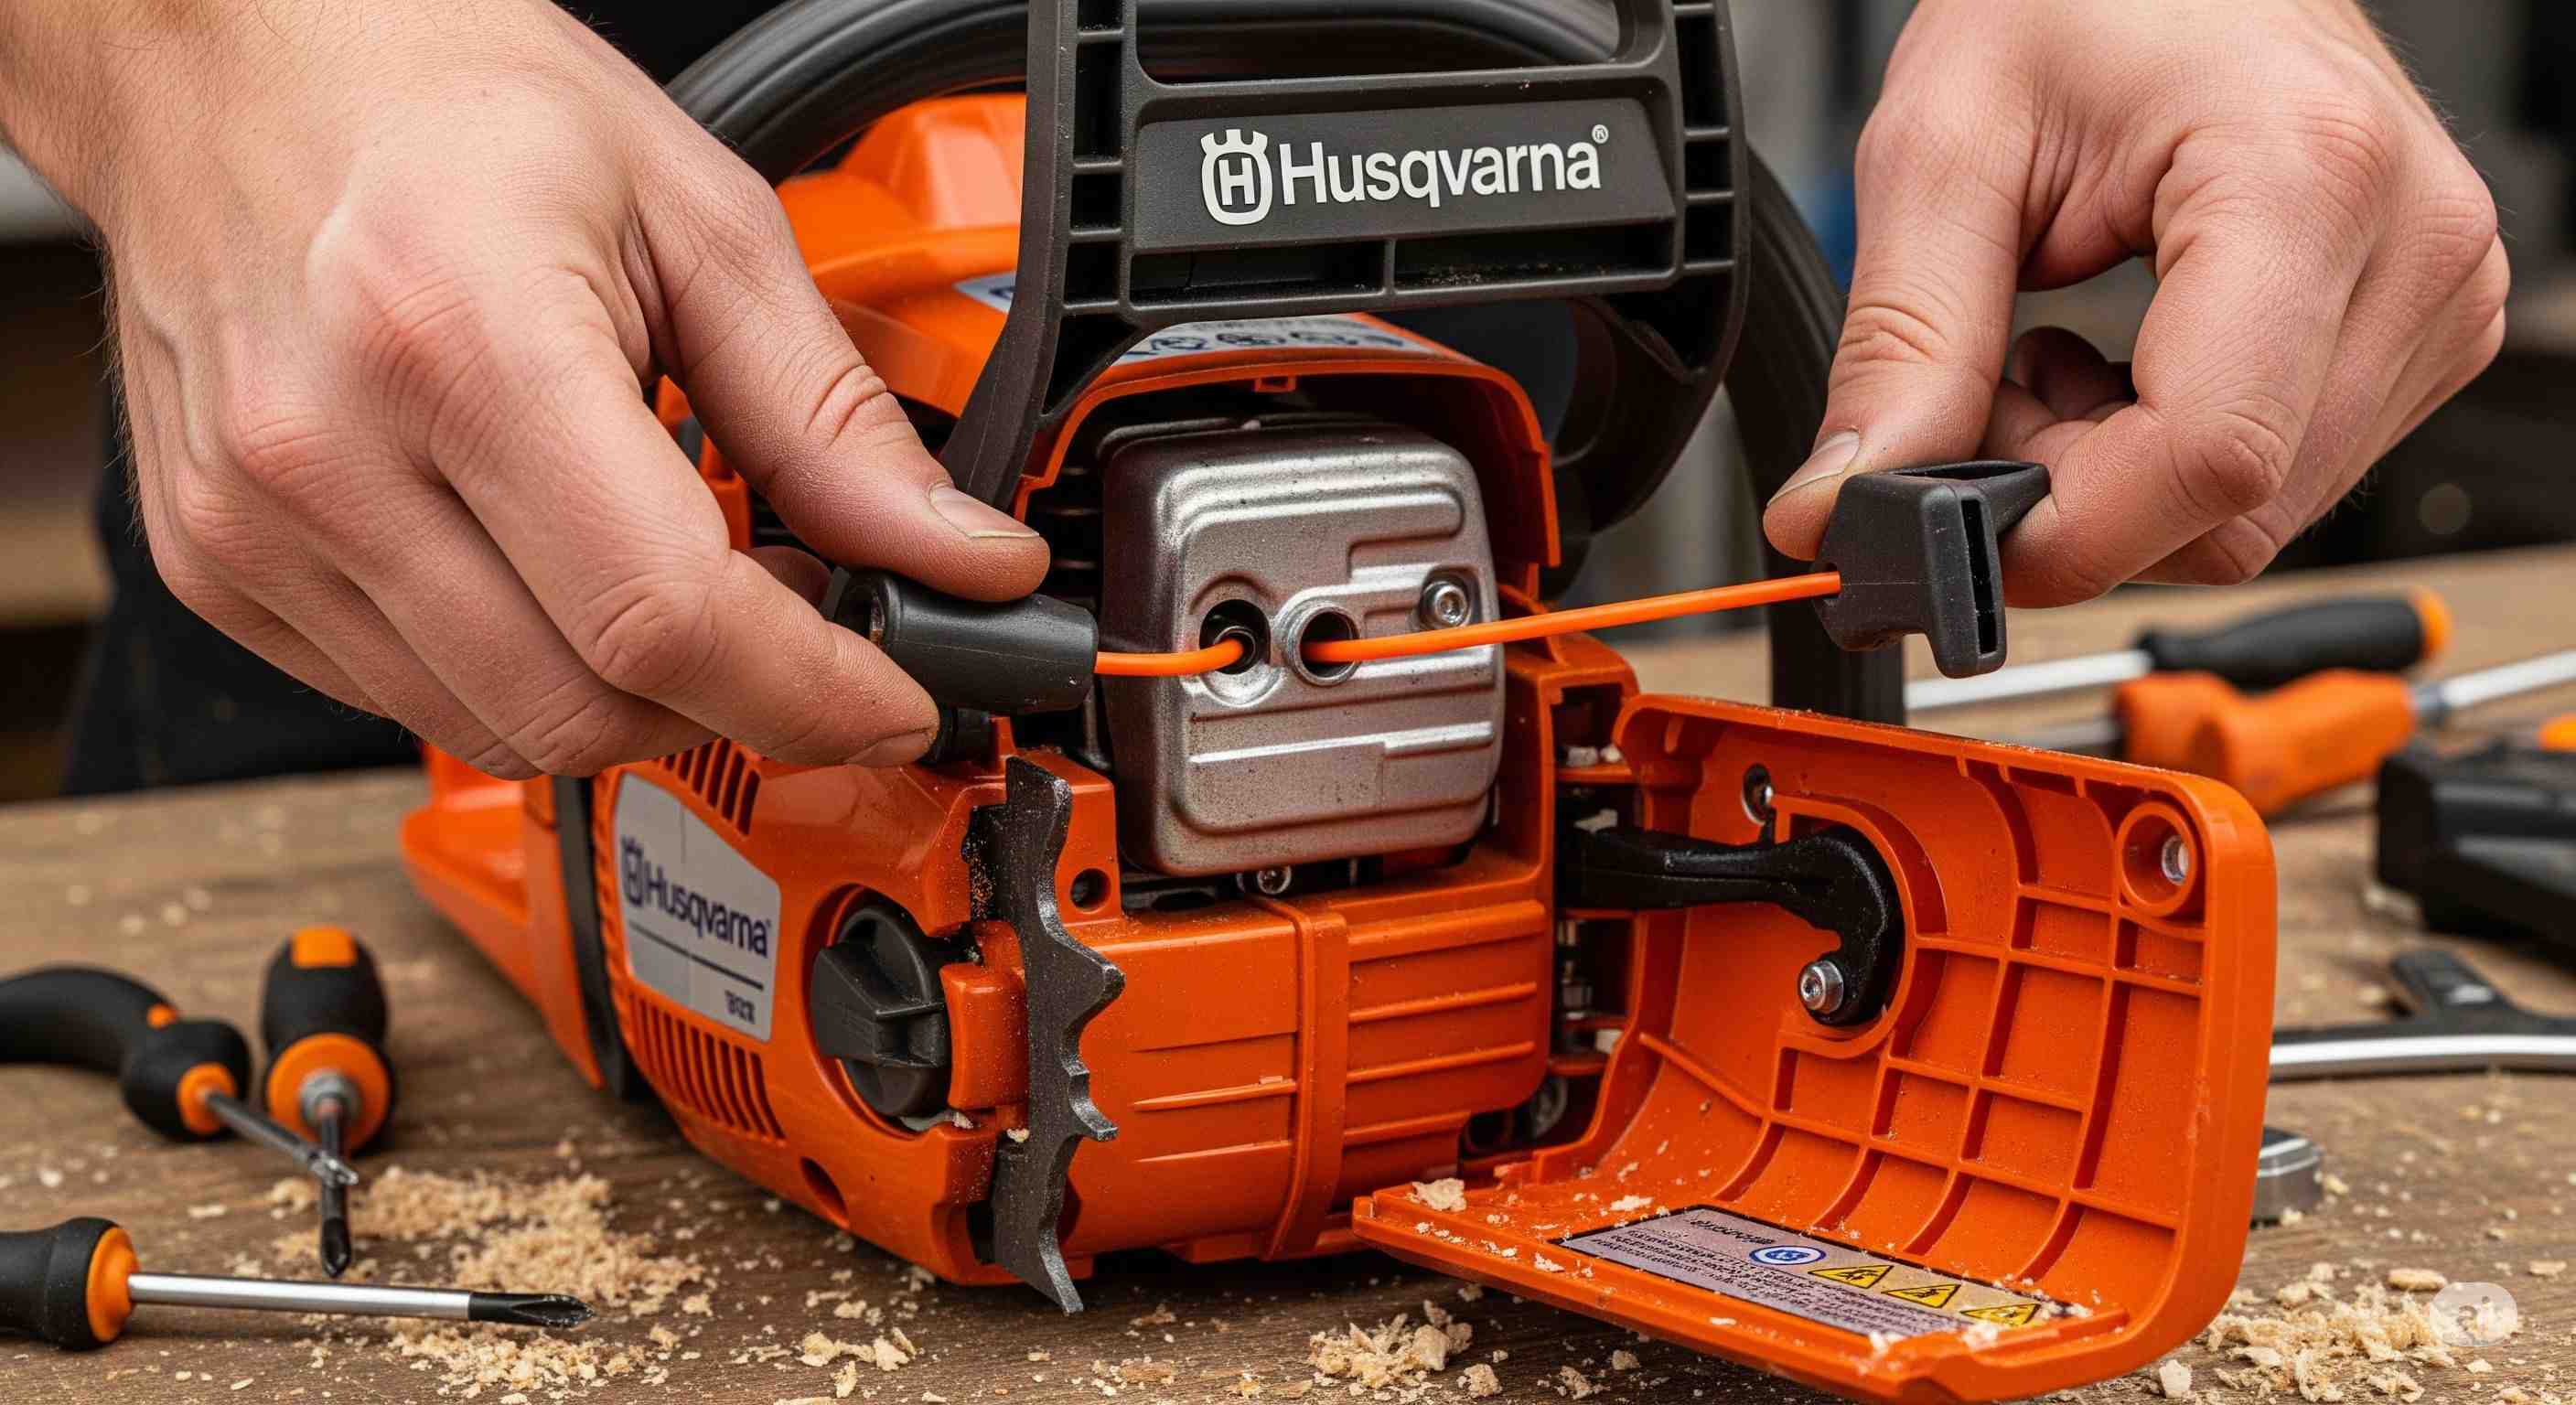
It is scary to change the pull cord on your Husqvarna chainsaw, but it's very easy if you just do things in the right order. In this guide, we're going to repeat the instructions shown in the video to help you change the starter rope on your Husqvarna 240 chainsaw effectively and safely.
- Flathead screwdriver
- T27 Torx screwdriver
- Needle-nose pliers
- Replacement pull cord (3.5 mm x 90 cm)
- Lighter (to seal the cord ends)
- Safety gloves (optional)

Step-by-Step Instructions For Replacing the Pull Cord on a Chainsaw
- Remove the top cover: Remove the three T27 screws to remove the top cover of the chainsaw.
- Remove the recoil starter assembly: Remove the starter housing very carefully. This reveals the pulley and spring mechanism upon which the pull cord is located.
- Remove the old cord: In case the cord is worn out or broken, use pliers to remove the leftover piece from the pulley and the handle.
- Prepare the new pull cord: Trim the new cord to length (about 90 cm), and melt both ends with a lighter to prevent fraying.
- Install the cord in the pulley: Pass one end of the new cord through the pulley hole from the inside and tie with a tight knot. Wrap the cord clockwise on the pulley.
- Preload the recoil spring: After winding the cord, wrap the pulley six turns clockwise to spring tension. Hold it in place so the spring will not come undone.
- Pass the cord through the handle and housing: Take the end that is loose and pass it through the starter housing and out of the handle. Tie a knot to hold it in place.
- Install the recoil assembly: Bolt the starter housing back into place and inspect the pull cord. It should pull in smoothly with firm pressure.
- Replace the top cover: When all functions are correct, screw the cover back on to complete the job.
Replacing the Pull Cord on a Husqvarna Leaf Blower
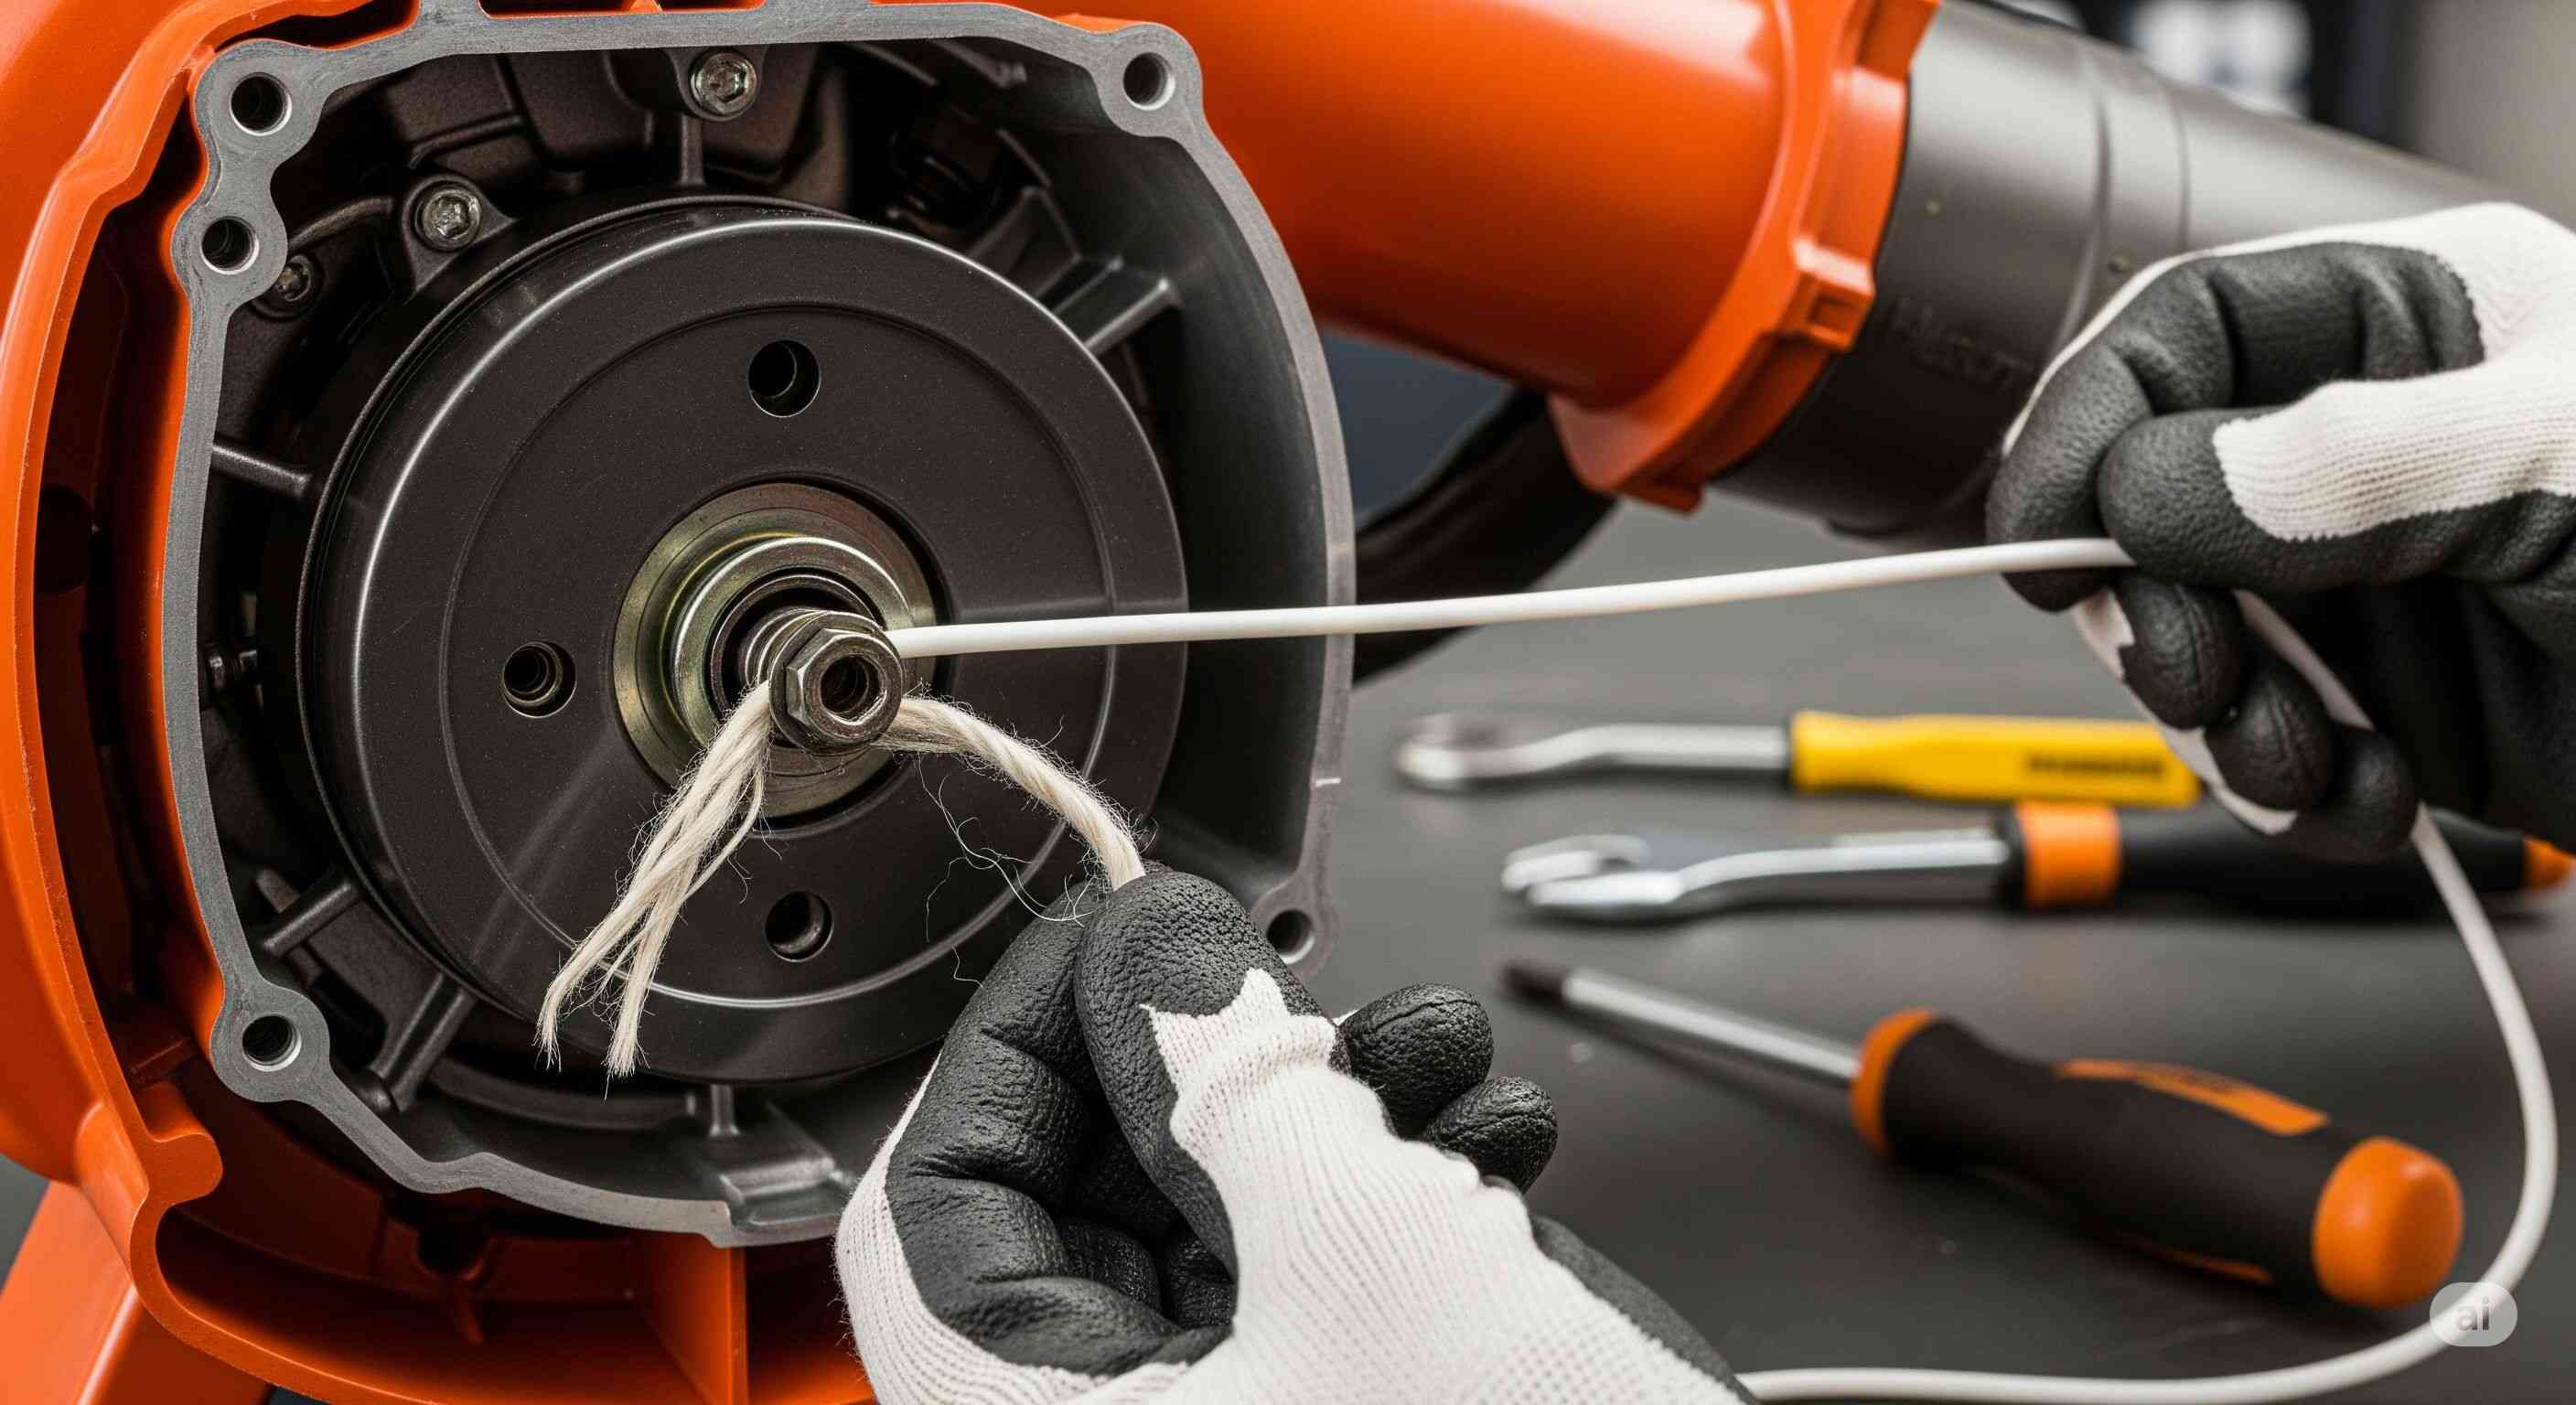
The starter rope of your Husqvarna 125B blower can be repaired at home using basic tools whenever it breaks or becomes frayed. The guide explains how to replace the starter rope in basic steps.
Tools and Materials Needed
- T25 Torx screwdriver
- New starter rope (around 3.0 mm cord) with 3 feet in length
- Lighter (for sealing rope ends)
- Pliers or a pick tool
- Flathead screwdriver (optional)

Step-by-Step Instructions For Replacing the Pull Cord
| Step | Description |
|---|---|
| Remove the starter housing | The T25 Torx screwdriver enables you to eliminate the screws that secure the recoil assembly to the unit. You should save the screws for future reinstallation. |
| Extract the recoil assembly | The starter unit requires careful removal from the blower. The pulley could unwind unexpectedly if you do not take proper precautions. |
| Remove the old rope | The remaining parts of the old rope need to be removed from both the pulley and the starter handle before installation. |
| Prep the new rope | Get a piece of new starter rope that measures about 3 feet. The lighter flame should be used to burn the rope ends because it prevents fraying and helps with threading. |
| Thread the new rope through the pulley | You need to move the pulley to reveal the starter hole. Put one rope end through the pulley hole before tying a knot to keep it in place. |
| Wind the spring | The spring needs preloading by turning the pulley counterclockwise five full turns. When the rope is properly tensioned, it will recoil effectively. Maintain the pulley position once the tension has been established. |
| Install the rope through the housing and handle | The rope's free end must be inserted through the starter housing while you hold the pulley, then into the starter handle. Create a knot in the rope, then draw it firmly into the handle cavity. |
| Allow the rope to pull back automatically | The pulley needs to be released with care so the rope can wrap around the mechanism without trouble. The recoil needs to be tight and evenly wound. |
| Reinstall the starter assembly | Position the housing on the blower correctly before securing the Torx screws back into place. |
Final Tips
- Always make sure the cord pulls in all the way and does not slip or hang free.
- Use only top-grade replacement cords that match your tool's specifications.
- Wear gloves if needed to protect your hands while working near the spring.
Conclusion
No matter whether you have a Husqvarna chainsaw or a Husqvarna blower, being able to replace the pull cord yourself can be a real time-and money-saver; that's why we offer the best deals to get genuine Husqvarna parts for your lawn mower. With very little equipment and some time, your machine will be operating once again in no time at all.
Recent Posts
-
Replacing the Pull Cord on a Husqvarna Chainsaw and Blower
The pull cord is one of the most utilized components of both chainsaws and blowers. It can wear or b …Aug 15th 2025 -
Replacing Fuel Lines in a Husqvarna Trimmer and Chainsaw: How to Do It
If your Husqvarna equipment is not starting or spitting when used, it's a good bet that the fuel lin …Aug 7th 2025 -
Husqvarna Chainsaws: History, Performance, and How to Get the Most Out of Them
The first Husqvarna factory opened its doors in Sweden in 1689 to produce weapons. Husqvarna evolved …Jul 31st 2025


